Are you becoming increasingly aware of undesirable ingredients in commercial cosmetic products?
Here is a simple swap you can make: a well-known, commercial lip balm that contains mineral oil, parabens, synthetic color/fragrance, silicone and lanolin for an all-natural homemade one with just four nourishing, natural ingredients.
Behind the label: Cherry Chapstick
Here is what we found on the ingredient list:
INCI: White petrolatum 44%, Arachidyl propionate, camphor, carnauba wax, cetyl alcohol, D&C red no. 6 barium lake, fragrance, isopropyl lanolate, isopropyl myristate, lanolin, light mineral oil, menthol, methylparaben, octyldodecanol, paraffin, phenyl trimethicone, propylparaben, saccharin, white wax
As we can see from this ingredient list, this product contains:
Mineral oil/Petroleum (White petrolatum, light mineral oil and paraffin)
Parabens (methylparaben, propylparaben)
Synthetic color/fragrance (D&C red no. 6 barium lake, fragrance)
Silicone (phenyl trimethicone)
Animal product (isopropyl lanolate, lanolin)
We discuss some reasons why you might want to avoid these ingredients in our 8 Ingredients to detox from your skincare. Of course it is completely up to whether or not you are happy to use these ingredients.
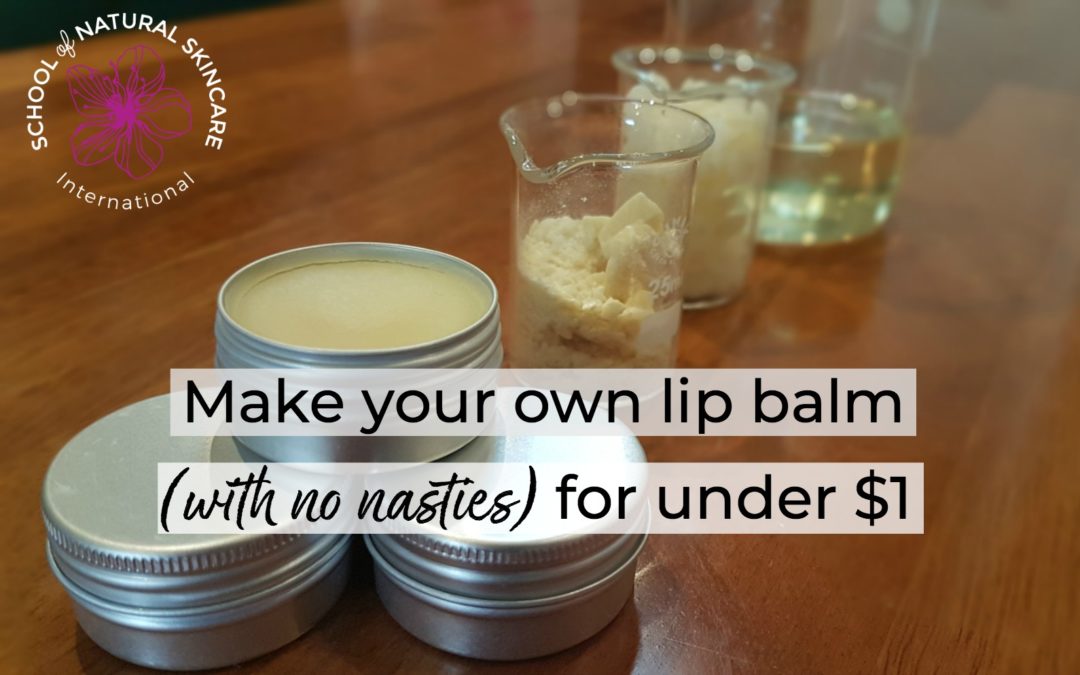
A natural alternative: Cocoa Butter Lip Balm
In our opinion there are much better, less harmful and more natural ingredients that you can use to make a lip balm.
We’re going to show you how quick, easy and inexpensive it is to make your own at home. The following recipe and tutorial are taken from our Certificate in Making Natural Skincare Products.
This recipe is a firm favourite amongst students! One got in touch recently to say,
This is a simple but wonderful recipe which you could adapt by choosing different carrier oils and essential oils. You can either use small tins or jars, or if you want to create a lip balm in a twist-up stick then you just need to vary the recipe slightly (see below). The second recipe uses more cocoa butter and wax than the first one, to create a firmer balm that works better in a twist-up stick container.
The recipes below will make about 6-8 lip balms, either using small tins (eg 15g) or twist-up sticks.
These products cost approximately GBP £0.70 or US $0.95 each to make (including packaging). The approximate cost without packaging is just £0.30 or $0.42 each. Of course the exact cost will depend on where you live, which supplier you use and whether you choose organic ingredients. But regardless of a little price variation, these products are not expensive to make, and in many cases less expensive than to buy.
It’s a win – win: better ingredients, and a lower price!
I
Recipe (for jars/tins)
Ingredients:
73.5g sunflower or sweet almond oil
16g beeswax (or vegan wax eg candelilla wax, which creates a similar firmness)
10g cocoa butter
0.5g essential oil of your choice (eg orange, peppermint or geranium)
I
Recipe (twist-up sticks)
Ingredients:
30g beeswax (or vegan wax eg candelilla wax, which creates a similar firmness)
20g cocoa butter
49.5g sunflower or sweet almond oil
0.5g essential oil (eg orange, peppermint or geranium)
Watch us make this lip balm in the video tutorial
Equipment list
To make your balms you’ll need:
Digital scales (for measuring your oils and other ingredients)
Glass beakers or jugs (to measure your ingredients into)
Stirring rod or spoon (for mixing)
Double boiler (for melting ingredients
Jars/twist-up sticks (for packaging your products)
To find out how to create a double boiler (also called a bain-marie or water bath), please see our guide to the equipment you need.
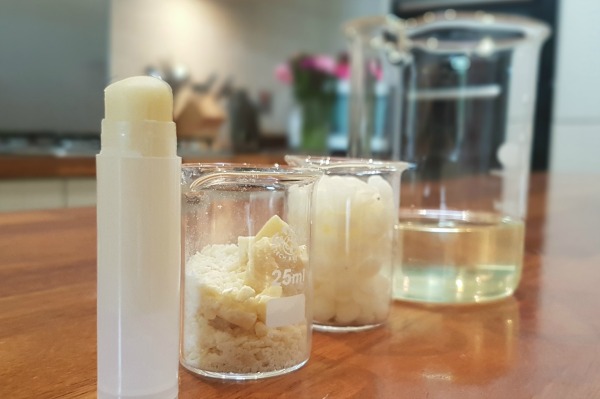
How to make your lip balm
Weigh out your butters, wax and carrier oils.
Melt butters, wax and carrier oils together gently in a bain-marie or water bath.
If you wish you can melt the harder ingredients with a higher melting point first (cocoa butter, beeswax) then add softer ingredients with a lower melting point (carrier oils). This prevents overheating ingredients.
Once melted remove the mixture from the heat.
Add your essential oils, Vitamin E if you are using it and any other ingredients that are heat sensitive. This is best done by weighing these ingredients as you add.
Mix together well.
Pour into containers. It’s important not to allow any drops of water from the bain-marie to get into the product so you may need to dry it with a cloth before pouring.
Steps 4-7 need to be completed quickly as products containing wax will set quickly as soon as they start to cool. It’s a magical process watching them form before your very eyes.
Shelf life and storage
As balms are oil-based products that do not contain water they do not require a preservative. Balms are best used within 6 months although may last longer if stored well, contain an antioxidant (such as Vitamin E) and use ingredients with a long shelf life (ie not ingredients that you have had open a while).
Store in a cool, dark place. If the product becomes warm it will soften and melt. Ensure you have clean, dry hands when using the balm.
Want to create more of your own skincare products, the correct way?
There is A LOT of incorrect information online. Join our Certificate in Making Natural Skincare Products and learn how to make a wide range of skincare products that are safe, stable and effective.
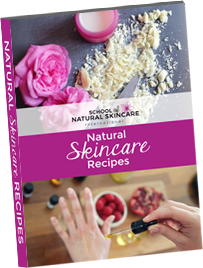
Sign up for our free newsletter and get our best product making tips, expert formulating advice and course offers... plus our Natural Beauty Recipe Book.
We take care of your data in accordance with our privacy policy.
You have Successfully Subscribed!
Sign up for our newsletter to receive our best tips, course offers and NaturalBeauty Recipe Book
We take care of your data in accordance with our privacy policy.
You have Successfully Subscribed!
See what our students are saying…
I have really enjoyed all the inspirations
“I have really enjoyed all the inspirations and different ways of thinking about my future that your courses have opened up for me! Thanks for all your amazing work”
Liv Henrich, New Zealand
I have loved doing every aspect of the course
“I have loved doing every aspect of the course and can’t wait to keep improving on these skills with other products”
Leonie Turenne, Australia
The course has revolutionised my life!
“The course has revolutionised my life! My skin is so much healthier and full of life. You are truly an inspiration!”
Lu Brown, UK
I’m truly delighted
“I must confess this course is good value for money. Honestly all I expected was the course material and a certificate! I’m truly delighted with this extra bonus and all the prompt online support we get!”
Mary Um Mustafa, UK
I found the course addictive!
“I found the course addictive! I have come a long way in the last few months with my formulating and have found the course to be exactly what I needed”
Carol White, UK
This class has been so awesome!
“This class has been so awesome! Formulating is so much fun after all!”
Raquel LoVetere Curtin, USA
I gained priceless knowledge
“I gained priceless knowledge and it has now given me the motivation to pursue an interest and hopefully a business. Thank you!”
Femi Robinson, UK
My clients are loving the new creations I am making.
“My clients are loving the new creations I am making. I am so happy I came across your site and decided to take this course.”
Veerpal Sidhu, Canada
This course is the one you want… trust me!
“I had my eye on this course for over a year. I was choosing between this course and two others. I decided to start with another one, and to be honest I made a huge mistake – I should have gotten this one from the beginning because it is SO detailed and gives you everything you need to become a great formulator! It is mapped out in such a way that is so easy to understand and you are excited to keep going. The course helped me to really grasp the information and take it in. Maybe there are other people out there deciding between courses… don’t go with the others! You will end up frustrated like I was. This course is the one you want… trust me!”
Tamara Hinds, Canada
The Diploma in Natural Skincare Formulation was simply extraordinary!
“The Diploma in Natural Skincare Formulation was simply extraordinary! It exceeded my expectations.”
Heather Weinbauer-Literski, USA
The results are bombastic!
“Now I’ve completed the Certificate in Making Natural Skincare Products, I really want to say a BIG thank you for teaching me this knowledge! I continued experimenting with my own products, such as a serum oil for congested oily skin and blocked pores. The results are bombastic! Only one overnight application and next morning the blackheads and whiteheads were easily removed! My oil massage works great, especially for the joints, and it healed cramped and numb muscles.
I recommend the Certificate in Making Natural Skincare Products with the School of Natural Skincare for those who want to learn how to make their own skincare products. You can sign up at any time and it really sets you up for a bright future with your own skincare business!”